

This is our guide on how to install a slip-on motorcycle exhaust.
Slip-on exhausts are one of the quickest and easiest ways to get extra volume out of your motorcycle. They also feature high-quality materials and modern designs that can totally change the look of your bike.
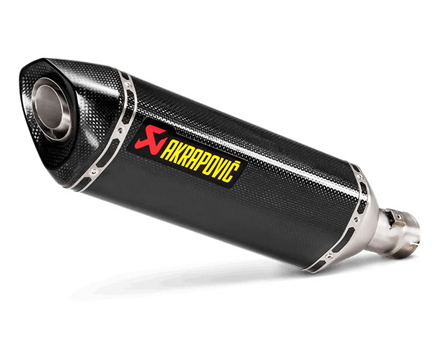
If you need a quick slip-on recommendation, check out this review, where we recommend our favorites.
As for fitting a slip-on to your motorcycle, it’s actually fairly easy to do. The process does not require very many tools or much technical experience. All you need is a can-do attitude and some patience.
Please note that this is a general guide. Different bikes and different exhausts will have varying installation methods. However, our guide should be able to familiarize you with installing a slip-on.
Moreover, you should refer to your bike’s instruction manual and the instructions that come with the slip-on for a more comprehensive guide.
Keep reading for more details.
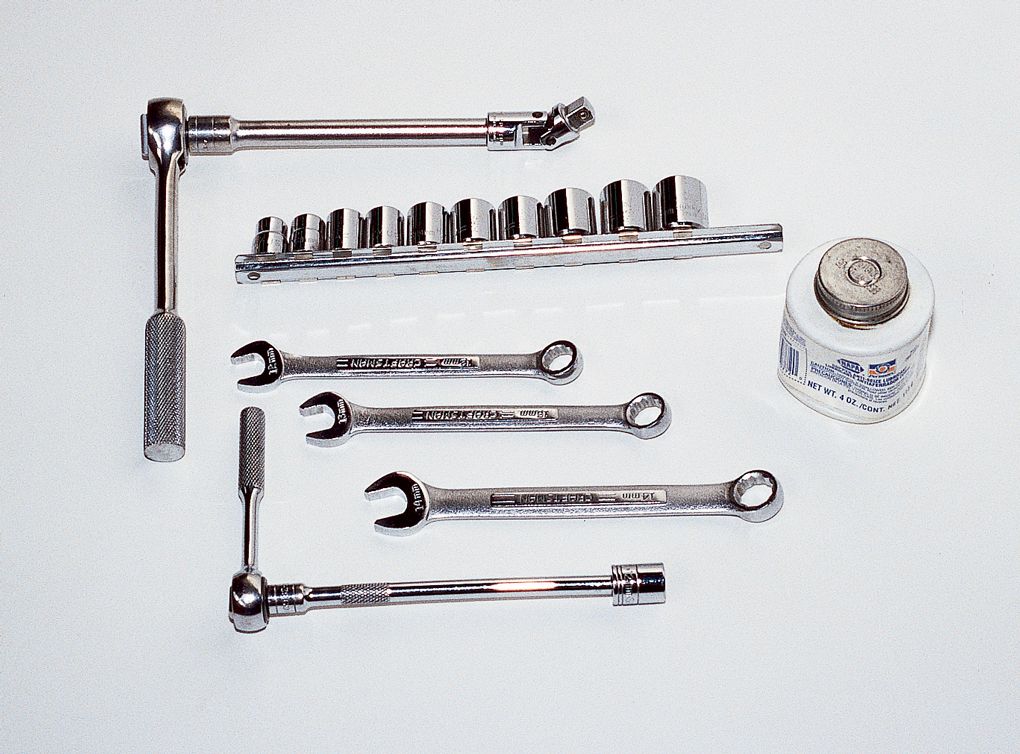
Step 1: Get some tools.
Different bikes and slip-ons will require different tools. However, generally speaking, you need an Allen wrench, ratchet with extensions, an adjustable wrench, a screwdriver, and WD-40.
Which tools you end up using and which ones stay in the drawer will depend on your exact model of bike and the slip-on you are installing. Again, refer to the bike’s manual and the instructions that came with the slip-on.
Step 2: Prep the bike
Before you start the installation process, it is important to prepare the bike, so you have an easier time installing the slip-on. It may take a little bit more time, but it will be well worth it in the long run.
First and foremost, make sure your bike is cold. If you just came back from a ride, the exhaust will be pretty hot and could burn you if you’re not careful. Wait for the bike to cool down, then check both the exhaust and engine just to be safe. Refer to this article if you or someone you know has sustained a motorcycle exhaust burn.
Next, park your motorcycle in a space where you have plenty of room to work and move around. Ideally, your bike has a center stand so it can stay upright. Alternatively, you can get a stand that holds the rear wheel in place. If neither of these is available, just position the bike on its side stand, so you have access to the muffler.
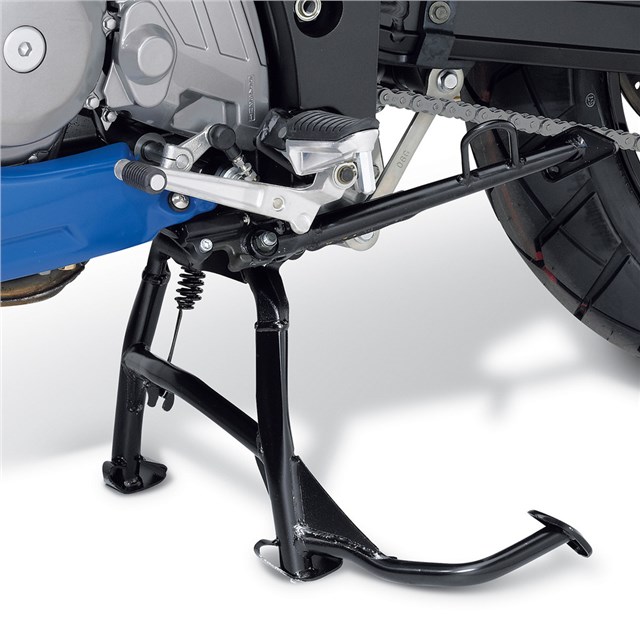
Before installing your shiny new slip-on, you have to remove the bike’s existing muffler. This may be the stock muffler that came with the exhaust, or maybe it’s a different aftermarket can that a previous owner installed.
Step 3: Loosen the exhaust connection joint
Motorcycle exhaust mufflers can be fitted to the bike in a couple different ways. All of these will require different methods to take off. Different bikes will use different types of exhaust connection joints. This is where your bike’s instruction manual will come in handy.
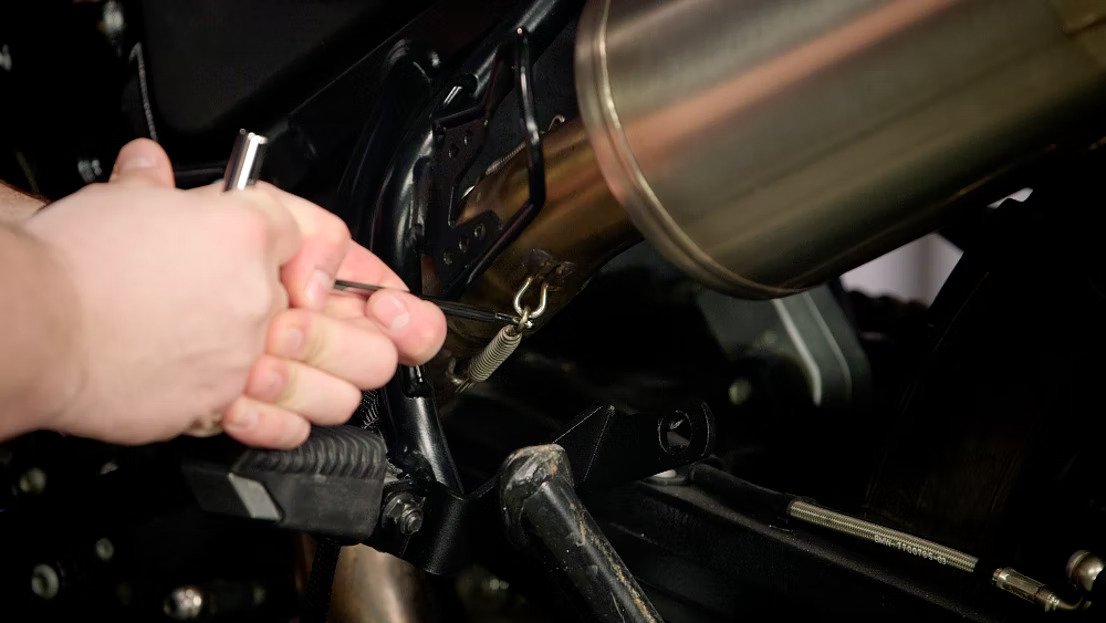
Most modern bikes use a spring hood, gasket flange, or a standard band clamp. Refer to the instruction manual to figure out which one your bike uses and how to loosen it.
Step 4: Loosen the muffler bracket
The muffler bracket is the piece that actually holds your muffler in place on the headers. Depending on your bike’s age, this piece could be pretty easy or hard to remove. If you have trouble getting it loose, spray it down with WD-40 and try again.
Make sure not to lose these brackets. Depending on the manufacturer, you may need to use them to install the aftermarket slip-on as well.
Step 5: Remove the muffler
Once you have taken it apart, remove the muffler from the header pipe. This will require a bit of force on older bikes as the muffler could be stuck on pretty well. Again, WD-40 is your best friend when dealing with a stubborn muffler. Just spray it on and in the joint and wait a while. Try again, and you should be able to get the muffler off.

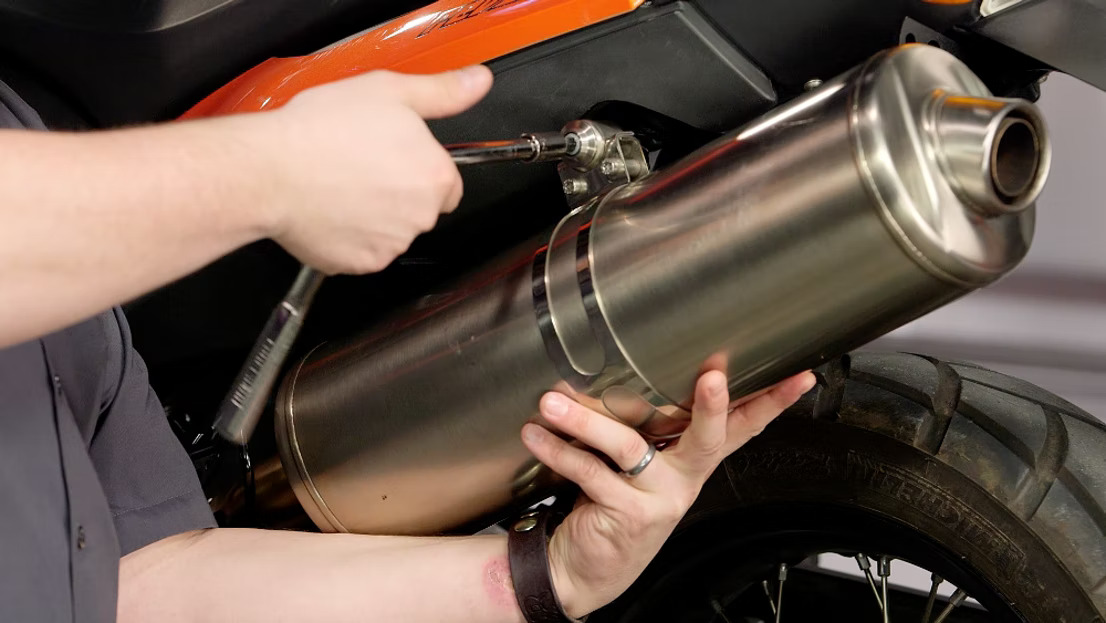
Step 6: Install the new slip-on
Now that you’ve finally gotten the old muffler off, it’s time to put the new one on. The process is pretty straightforward. Just position the new slip-on over the header pipes, and repeat Steps 3 through 5 in reverse order.
Just be careful you don’t damage the header pipes while installing the slip-on. Doing so could cause an exhaust leak, resulting in poor engine performance, worse mileage, and overheating issues. If you want to know more about motorcycle exhaust leaks and how to fix them, check out this article.
Step 7: Test the slip-on
Now that you’ve got the new slip-on installed, take it for a spin. Listen and keep an eye out for anything out of the ordinary. Your exhaust will definitely be louder, but if you notice any hissing, rattling, or other concerning noises from the engine, there may be something wrong.
Recheck all of the steps to ensure you didn’t miss anything, or refer to the instructions.
Conclusion
Installing a slip-on isn’t as hard as you might think. In fact, you can get it done at home, with only a few tools needed.
However, it is always recommended that you get the installation done professionally, especially if you haven’t worked on your bike before. This will reduce the chances of anything going wrong. And while not always necessary, some bikes will require a little bit of tuning or ECU work to perform optimally with the new muffler installed.